I used to rely on frozen garlic bread, which is convenient but often too greasy for my taste. Recently, I stumbled upon an easy recipe that turned out to be a game-changer, achieving about 90% of the restaurant-quality garlic bread I was craving!
Perfect Garlic Bread Every Time
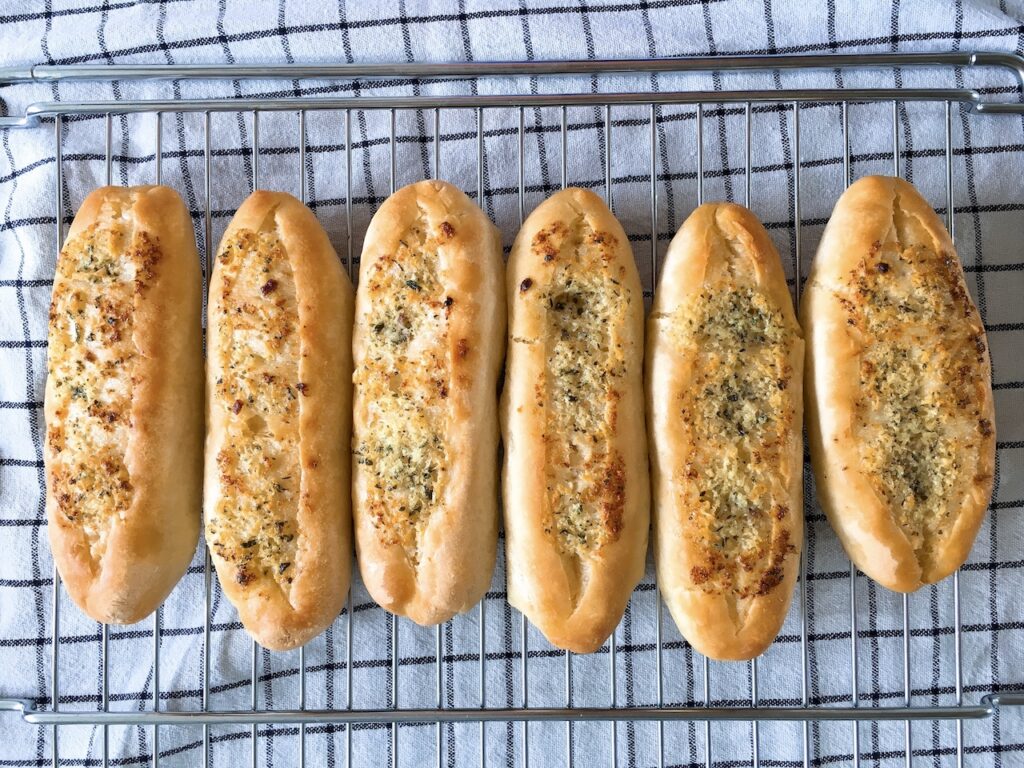
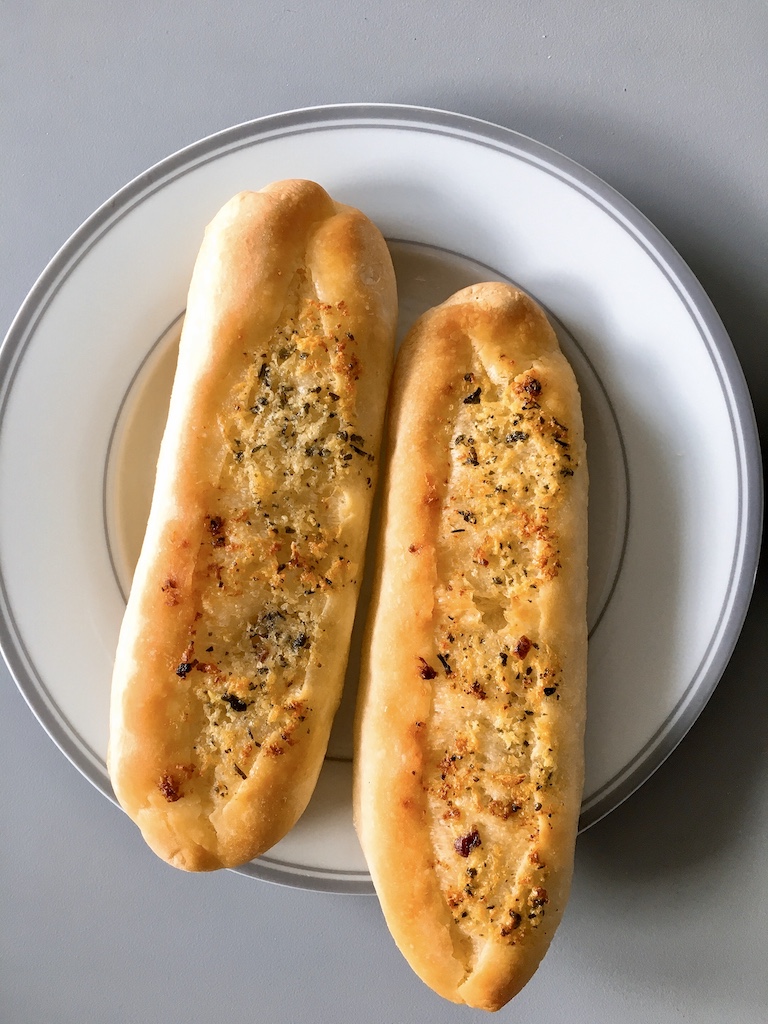
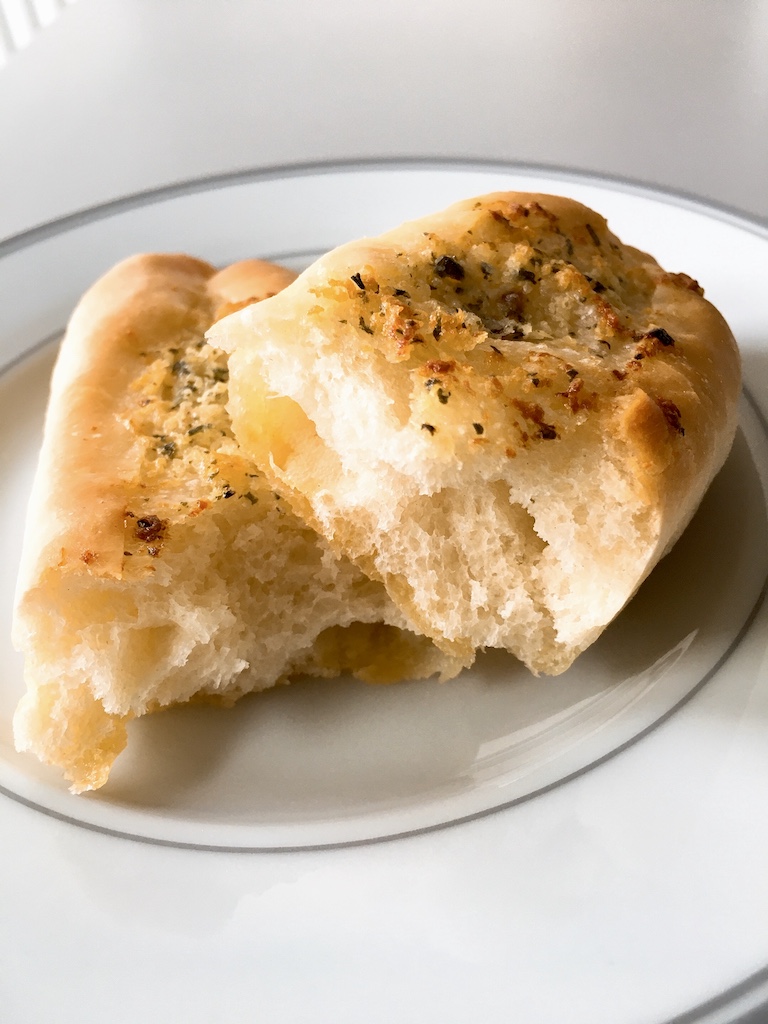
The moment this garlic bread came out of the oven, its irresistible aroma filled the kitchen. It was perfectly crunchy on the outside yet soft and flavorful on the inside. Even Curry Boy commented, ‘Wow! It tastes like the kind you get in a restaurant—delicious!’ I couldn’t agree more!
How Much Butter Should You Use?
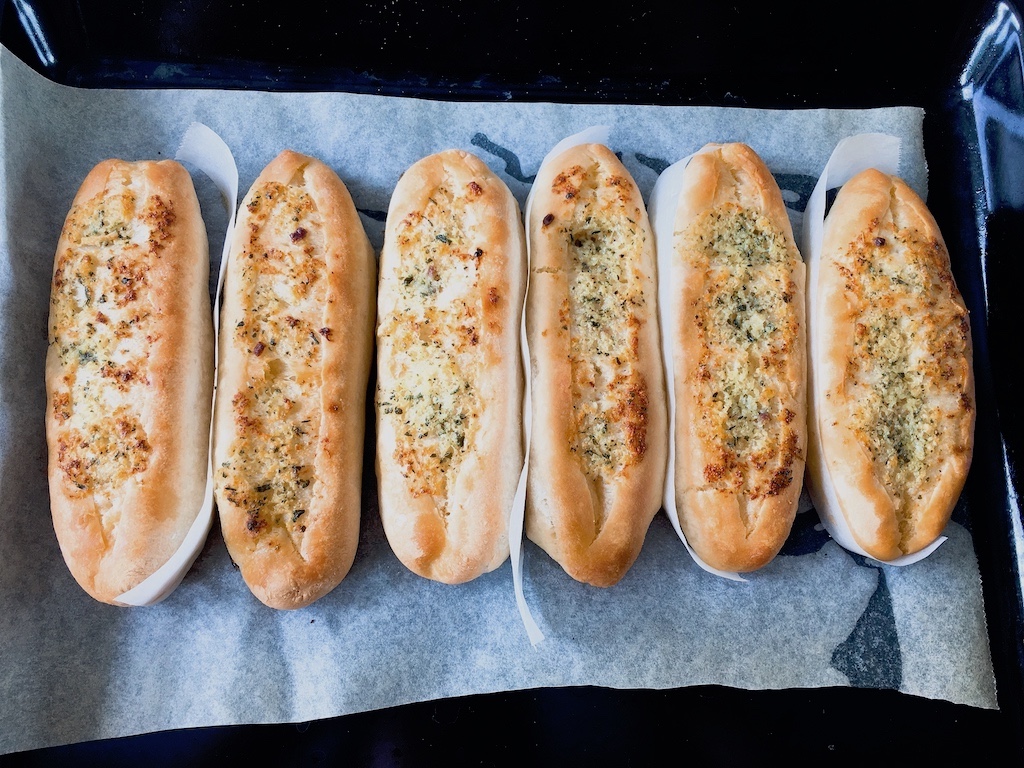
For this batch, I used less than 50 grams of butter. While it was tasty, the butter melted and dripped onto the baking tray like lava. Next time, I’ll try reducing the butter to about 30 grams. It should still be flavourful without being overly greasy. (The amount of butter has been adjusted to 30 gram at the recipe below.)
Freezing Tips for Garlic Bread
I made six loaves, but we couldn’t finish them in two days. Refrigerating them isn’t ideal, as it makes them soggy. The best way to store leftover garlic bread is to wrap it in cling film, place it in a tightly sealed bag, and freeze it. When you’re ready to enjoy, simply pop the frozen bread in the oven to reheat. It’ll taste like it’s just been freshly baked!
Try this homemade garlic bread recipe for a delightful, crunchy treat that’s perfect for any meal.
Garlic Bread Video Recipe
A Few Adjustments
- Less butter:In the above video, she used 50 g butter. But I found it’s too much, even I end up using 45 g. I think 5-6 g butter for each baguette should be enough, which I’ve amended the amount to 30 grams in below recipe.
- Lower hydration rate:Hers is 68%. But according to my experience, 65% is fine for the flour I use.
- Garlic butter:I added a pinch of salt and black pepper.
No Knead Garlic Bread Recipe
Enjoy homemade garlic bread with this easy recipe! Soft, buttery, and perfectly crispy, it’s a delicious addition to any meal. Ready in just 30 minutes!
Ingredients
Makes:6 garlic bread
For the dough
- 200 g bread flour
- 50 g plain flour
- 1 tsp (4 g) dried yeast
- 1 tsp sugar
- 1 tsp salt
- 163 g warm water
For the garlic butter
- 30 g butter (in room temperature)
- 2 cloves of garlic, minced
- dried herbs, such as oregano
- pinch of salt and pepper
How to Make
- Prepare the Dough: In a large bowl, mix the flour, salt, and sugar thoroughly. Add the yeast and pour warm water over it. Stir with a spatula until the dough is smooth. Spread the dough in a container, cover with cling film, and let it rest for 15 minutes.
- Make the Garlic Butter: While the dough is resting, prepare the garlic butter. In a bowl, mix the softened butter with minced garlic, herbs, and salt and pepper (if using). Cover with cling film and refrigerate until needed.
- Shape the Dough: After the dough has rested, use a spatula to lift it and fold it as shown in the video. Shape it into a slightly round form. Place the dough in the center of a large bowl, cover with cling film, and let it ferment until it doubles in size.
- Prepare for Baking: Sprinkle flour on your work surface. Punch down the dough, then divide it into 6 equal pieces. Round each piece and let them rest for 5 minutes.
- Roll and Shape: Roll each piece of dough into a circle with a diameter of about 15 cm using a rolling pin. Fold the circle in half towards the middle, then fold it in half again. Knead the dough with your hands to even out the thickness.
- Final Rise and Baking: Place the shaped dough on a baking tray. Cover with a dry cloth and let it rise until it doubles in size. Meanwhile, preheat your oven to 220°C.
- Add Garlic Butter and Bake: Use a sharp knife to make a cut in the center of each piece of dough. Spread a generous amount of garlic butter on top. Bake in the preheated oven for 15 minutes, or until golden and crispy.
Enjoy your homemade garlic bread!