This no knead Japanese shokupan bread recipe is relatively healthy, easy to follow, and mostly happens in a bowl. Plus, no bread maker or kitchen machine is needed.
Here’s a table of contents I’ll cover in this blog post.
German Bread vs UK Bread
After moving from Germany to the UK, the first thing I missed was BREAD.
In Germany, despite all the bakeries around every street’s corner, even the local supermarkets bakeries are AMAZING! They freshly bake their own bread, which mostly is wholemeal, rye or spelt bread, and they are very budget-friendly! I still remember how excited I was, when I could grab a freshly-baked loaf of sourdough, still hot, SUPER FRAGRANT, and only cost me less than €2. No wonder why the Germans eat bread for every meal.
But the breads in the UK is different. First, fewer bakeries, which you can only find in the city center, meaning you buy bread in supermarkets. However, the quality of mass-produced bread is poor. These industrial formulated breads’ ingredient list is usually very long with more than 10 ingredients, and some of them you don’t know what they are. Preservatives are often spotted too.
If I don’t have time to bake bread by myself, I usually buy it at Waitrose or M&S.
Waitrose is a bit better since they have some sorts of ‘professionally made’ sourdough which I understand all the ingredients at least, such as the Bertinet Bakery series, Jason’s sourdough, or Waitrose own brand sourdough. Otherwise, I’ll go to M&S to grab their own brand bread loaf, which are comparatively okay because no preservatives are added.
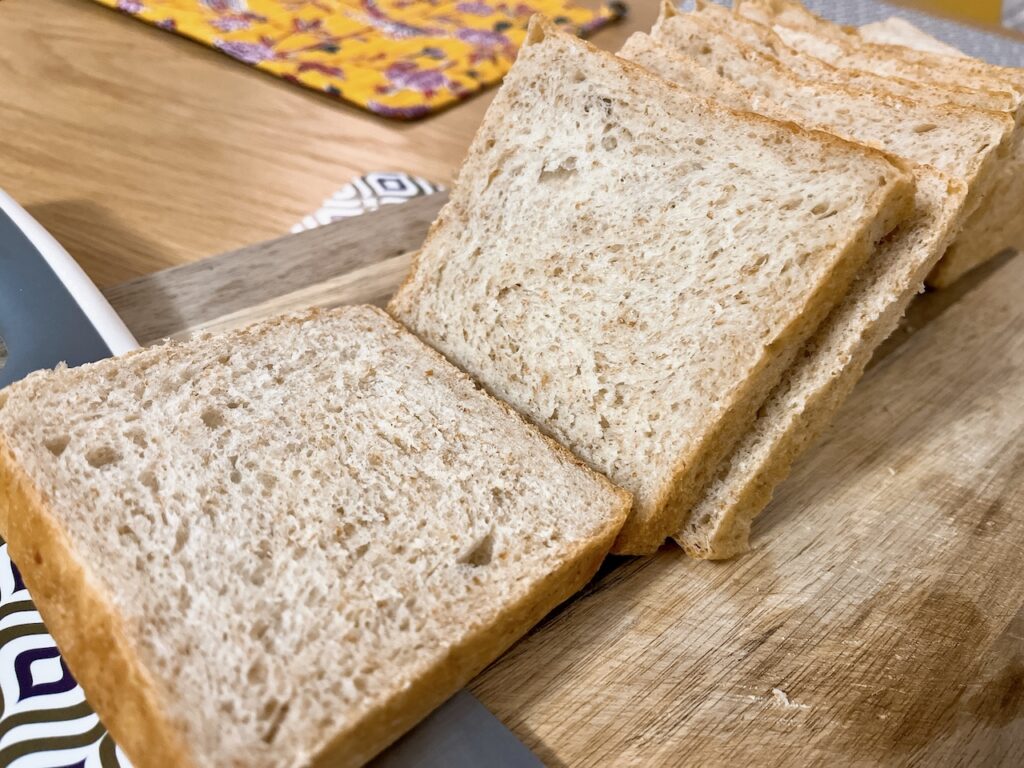
So, when I have time (and mood) to bake, this Japanese shokupan bread (全粒粉入り食パン) is something I often bake for breakfast toast with peanut butter and jam.
Before Baking
The video below showing the Japanese lady using a plastic container to make no knead shokupan bread. Easy for everyone! I added 50 g wholemeal flour to make it healthier.
Video: No Knead Japanese Shokupan Bread
Where to Buy Loaf Pan with Lid
I bought mine in Japan years ago. Here in the UK, the most convenient way to buy this kind of mould is online.
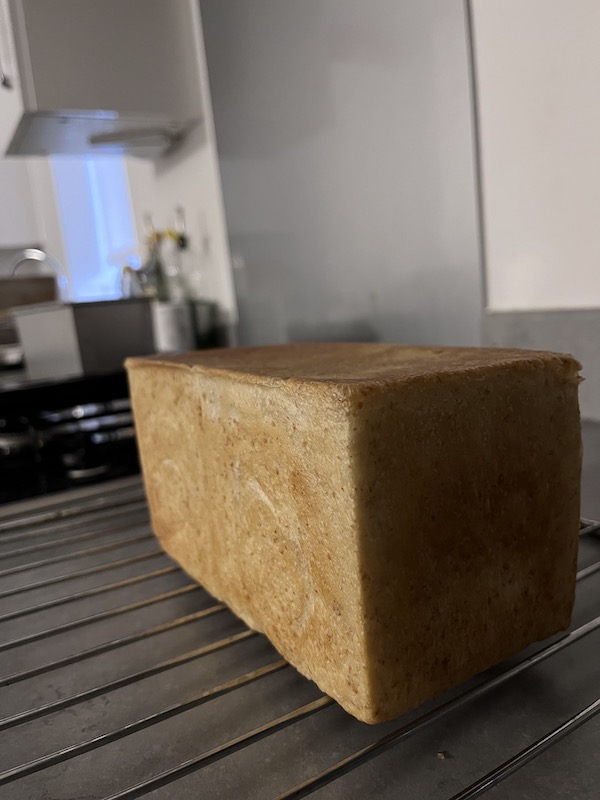
After Baking
However, making good bread is not that easy because there are so many factors can alter the output, and you often can’t pinpoint the problem.
What I Learnt
- In the first time, the top caved in while cooling. Perhaps I over-proofed it, so the gluten didn’t have enough strength to hold the structure.
- The second time, the bread proofed properly, and the caving problem was much reduced, although slightly sunk on one side.
- Further information can be found on this blog post: Why Is My Bread Collapsing Or Shrinking After Baking?
What I Not Yet Understand
- Why bang the bread mould before taking out the bread?
- Some say hot steam is trapped on the top of the loaf. Bang the mould can let the hot steam escape. But why bang it with the lid on?
- My 3rd experiment: I took out the bread from the oven, immediately removed the lid and slide the bread out without any banging. It was perfect and no caving in.
- Why spread out the dough during the first rest?
- To me, this step looks unnecessary. The dough can absorb water even if it is not spread out.
- I usually make it in a bowl, not a big container. And it works every time.
- How much more wholemeal flour can I use to maintain the similar softness?
- More experiments are required.
Japanese Shokupan Bread Recipe
Although it doesn’t require kneading, it needs time to develop gluten, yet we often being impatient. Relax, and try to give it time. The shokupan will work its way out.
Ingredients
Bread mould: 195 × 95 × H95 (mm)(Japanese unit: 1 斤)
Makes approx. 470 g
- 220 g white bread flour
- 50 g wholemeal flour
- 160 g milk (from the fridge)
- 50 g hot water (to warm the milk)
- 20 g unsalted butter (in room temperature)
- 4 g salt
- 10 g sugar
- 3 g dried yeast
How to Make
- Mix the cold milk with hot water to even out the temperature (so they are warm!). If you use room temperature milk, then use warm water instead hot. Tip in the yeast and give it a stir.
- In a large bowl, combine the white bread flour, wholemeal flour, salt and sugar. Then pour over the milk mixture. Use a scraper to mix until it formed a dough. Cover it with a clean towel or cling film (I used a shower cap) to let it rest for 30 minutes.
- Cut the butter into small pieces and add to the dough. Again, use the scraper to help incorporate the butter into the dough. The butter can tenderise the dough, so that later you’ll have a soft bread. Shape the dough in round and let it rests for an hour, until it doubled the size.
- Sprinkle some flour on a work surface. Take out the dough and spread it into a rectangle. Fold the long sides toward middle, then roll from the short side up like a towel.
- Put it back to the bowl and let the first fermentation starts. I left it covered in room temperature for another hour. It should double its size but not over-proofed. Do a quick poke test. Gently press a finger to the dough for 2 seconds. It should slowly spring back, meaning the proofing is ok. If not, probably it’s over-proofed.
- Meanwhile, oil the bread mould and lid to prevent the dough from sticking while baking.
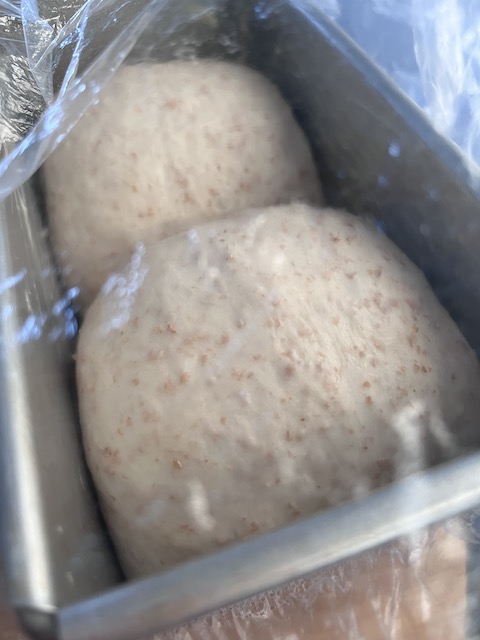
- Now, divide the dough into 2 equal parts. Roll each dough into a flat rectangle. Again, like step 4, fold both long sides toward the middle, then roll it up from the short side like a towel. Place two rolled doughs on each side of the mould, leaving the middle empty. Cover it and wait until the doughs rise to 1 cm under the rim. Then close the lid.
- Preheat the over to 170ºC. Bake it for 25-27 minutes.
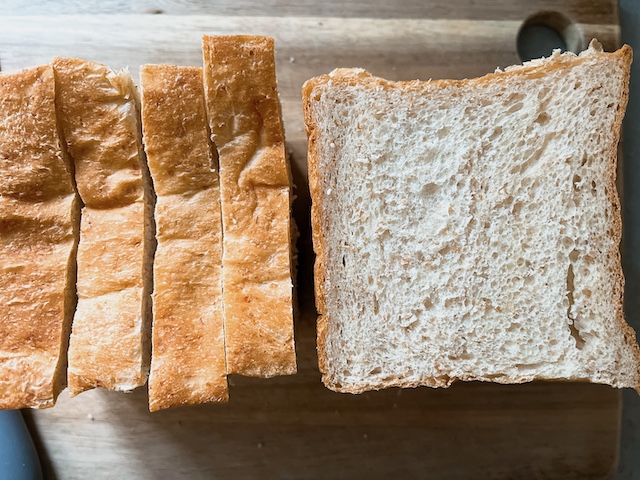
- After baking, immediately remove the lid and slide out the bread on a rack to cool down. Some prefer pounding the mould against the baking tray for a few times, saying this can set the crust and prevent wrinkles on the top. I’m not yet sure about the science behind.
- Let the bread cools down on a rack completely before storing.