After two COVID injections, I was eager to take a small trip. Although the EU countries have opened their borders, there is still a need for testing or/and quarantine due to the epidemic situation. I didn’t want to do it either, so I decided to go to Copenhagen, which is very accommodating and open to tourists!
Prep List
Every time I go on a trip, I like to make some preparations. The following 7 items are the pre-trip preparations I summarized.
1. Book Flight Tickets ASAP
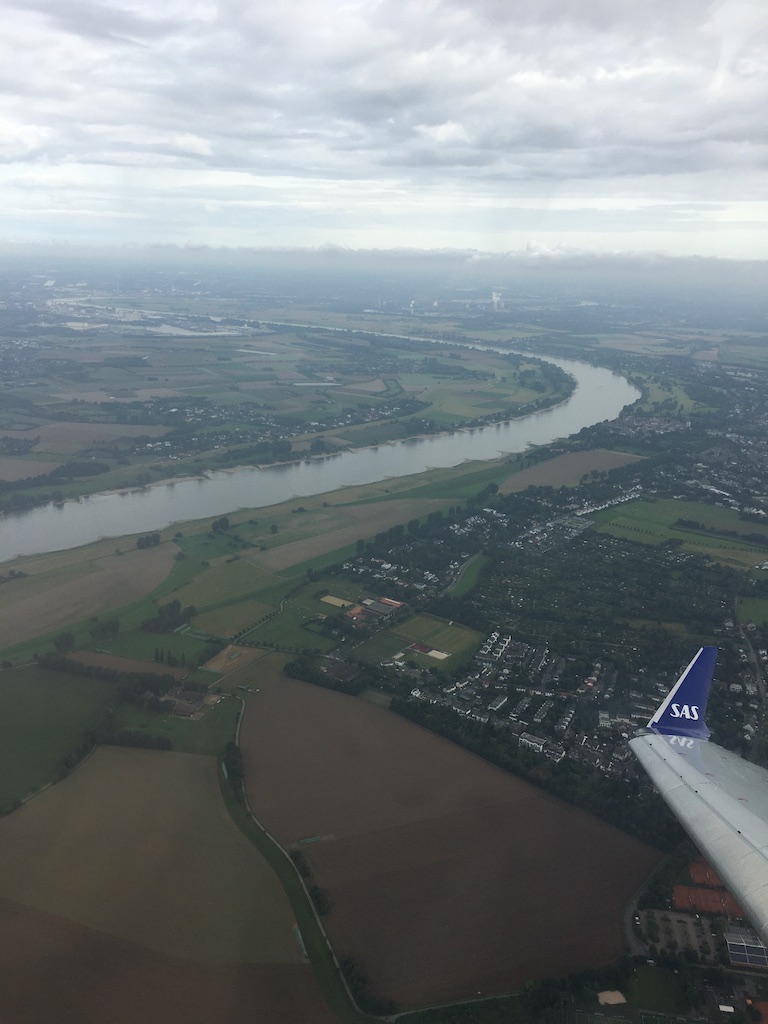

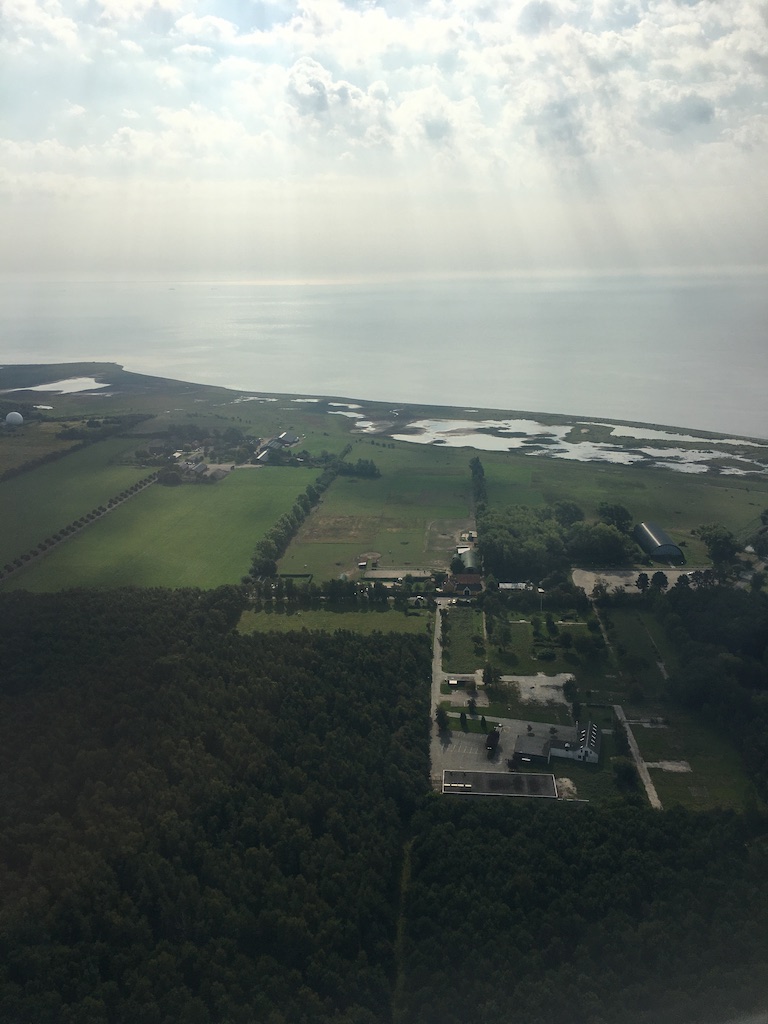
Flying from Düsseldorf, Germany to Copenhagen, the capital of Denmark, is very fast. The flight time is about one hour. After landing, you don’t need to go through immigration. You basically walk to the pick-up lobby after getting off the plane, and you will be there in a few minutes. It is really convenient.
Return Trip Costs €200
We made this trip spontaneously. We bought flight tickets about two weeks before departure, when airfares started to go up. If we could have bought a ticket in advance, it can be as low as about €120 (one person round trip). However, under COVID, there are many uncontrollable changing factors, which may be the reason for the delay in booking air tickets.
2. Buy Copenhagen Card
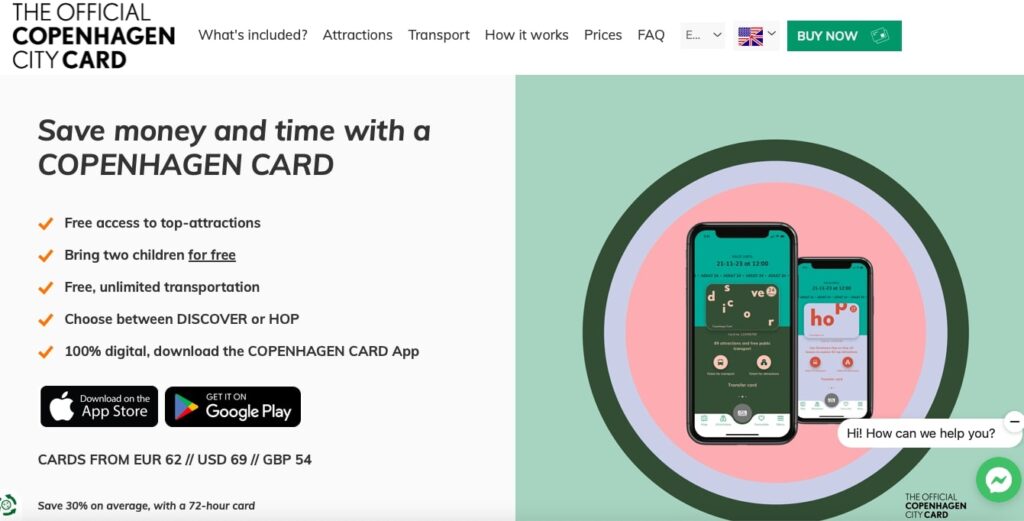
Many tourists buy the Copenhagen card, and we are no exception.
Although it seems that the price is not cheap, for example, the price is 113 Euros for 72 hours(as of July, 2023). But because it includes admission fees for more than 80 tourist attractions and unlimited use of public transportation, it is actually very cost-effective if you go to 3-4 attractions a day. Besides, the card saves you time from buying tickets at every attraction and transportation.
How Many Hours Do You Need?
The most common one is the 72-hour Copenhagen Card (€113), while the 48-hour fee is €92. Although our itinerary was 3 days and 2 nights, we finally decided to buy a 48-hour Copenhagen card.
Given that it is almost noon after arriving, and we have to leave for the airport at dusk on the last day. In other words, if we buy 48 hours, we only have about 6 hours of free time without a Copenhagen card. Therefore, we arrange the scenic spots that do not require admission tickets at the end, and then pay an additional fee to buy tickets to the airport (from the central station to the airport, 36DKK (about 4.8 Euros) per person), which is actually more cost-effective than buying 72 hours.
Physical Card or Digital Card?
We originally wanted to buy a physical card, which can be picked up at the airport after booking online, but the purchase instructions said that we needed to print the email of the reservation. First of all, we didn’t have time to print it (not sure whether mobile phone screenshots are accepted), and considering that there may be many people queuing up to pick up the card, we finally decided to buy a digital card.
Download the Copenhagen Card app, redeem the card after purchase, and finally activate it. If one person buys multiple cards, they will also be stored in the redeemer’s mobile phone. Swipe right and you will see another card, and activate it in the same way. (You can also transfer the card to other people’s mobile phones)
The website of Copenhagen card has clear instructions. Don’t worry if you don’t understand how to use it.
3. Book Hotel in Advance

Hotels in Copenhagen are not cheap (nothing is cheap exactly). A night in a hotel generally costs more than 100 Euros, but the room is super small! The average is 120 feet, and the smaller one is only 90 feet! The amenities in the room are very limited too. There is no toothpaste, toothbrush, slippers, conditioner, electric kettle.
After comparing the price, size, amenities and guest reviews of many popular hotels, we still choose the 2-star Budget hotel in Wakeup Copenhagen (located in Bernstorffsgade, next to the Marriot). The reason is that the room I booked is a little bit bigger, 150 feet, and the location is convenient, 10 minutes’ walk from the central station, and the two-night double stay is 1320DKK (about €178). This hotel is very popular. It was fully booked when we arrived on Friday. It is recommended to book early! (I booked two weeks ago)
4. Book Restaurants, Act Fast!
I checked the restaurants in Copenhagen on Tripsdvisor and Google map. I first locked in a few favorite restaurants with convenient locations, good reviews, and my interest in trying, and then made reservations via the restaurant website. Some restaurants are really in demand. The Friday/Saturday night prime time was full two weeks ago, and I could only book one of them until 21:00!
Remember, you can change or cancel after making a reservation. So act fast if you want to eat!
5. Browse Tourist Attractions’ Websites
In addition to looking at some basic information about museums/art galleries/historical relics and what the current exhibitions are, remember to pay attention to whether you need to pre-purchase/book tickets for the entry time (timeslot ticket).
For example, Rosenborg Castle requires pre-booked tickets for the entry time. Some tourists have not booked, and if they are lucky, they can queue up to buy immediately (it can be a long queue!), otherwise they may have to wait for another time, which will be very troublesome.
6. Sim card/Rental Wifi
I searched online for articles about sim card/WiFi rental, but I didn’t find much information about prepaid sim cards, and rental Wifi is very expensive. Later, we found out that many European phone plans already include cheap roaming services. That is to say, the mobile phones we use in Germany can be used in Denmark without any settings! So, in the end, we didn’t buy a sim card or rent Wifi.
7. Change Currency
Copenhagen is a city where credit cards are accepted everywhere, even at a food court or food truck. For this 3-day trip, we didn’t need to exchange currency once! Because the attraction tickets and transportation fees are included in the Copenhagen Card, and you can use a credit card at restaurants.
The only thing that ever needs cash is that some art galleries/museum lockers require 10/20DKK coins. But we took all our valuables into the gallery in a small bag, leaving only innocuous stuff in an unlocked locker. Of course, if any unfortunate accident happens, it is also my own responsibility.
Our 3 Days Itinerary in Copenhagen
For itinerary planning, you only need a rough idea. At that time, adjustments may be made according to weather changes, whether you like the scenic spot, physical strength, aesthetic fatigue, hunger, etc. The following is our itinerary for 3 days.
Day 1
Airport→Vaerftets Madmarked Food Court→Maritime Museum →Kronborg Castle→Louisiana Museum→Restaurant Cofoco
Day 2
Coffee Fellaz→Rosenborg Castle→SMK: Statens Museum for Kunst (National Gallery of Denmark)→Market Torvehallerne→The Round Tower→Christiansborg Palace (only The Royal Reception Rooms)→ Canal Tour→Bistro Lupa→Tivoli Garden
Day 3
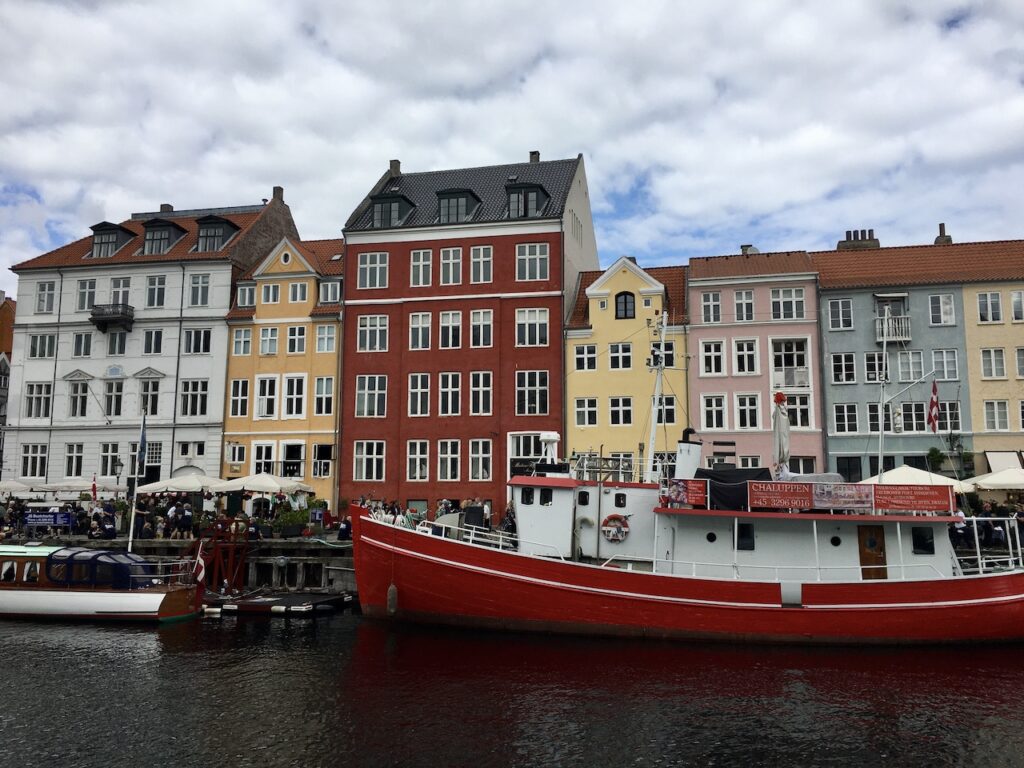
Andersen Bakery→DAC : Danish Architecture Center→Restaurant 1733→Nyhavn→Strøget shopping street→Maple Casual Dining→Airport
For more details on the sightseeing spots and pictures, please read this blog post.